Enable the custom meeting UI
To use your custom meeting UI, enable it before you start or join a meeting.
Swift
Objective-C
let context = MobileRTCSDKInitContext()

context.enableCustomizeMeetingUI = true
MobileRTCSDKInitContext *context = [[MobileRTCSDKInitContext alloc] init];

context.enableCustomizeMeetingUI = YES;
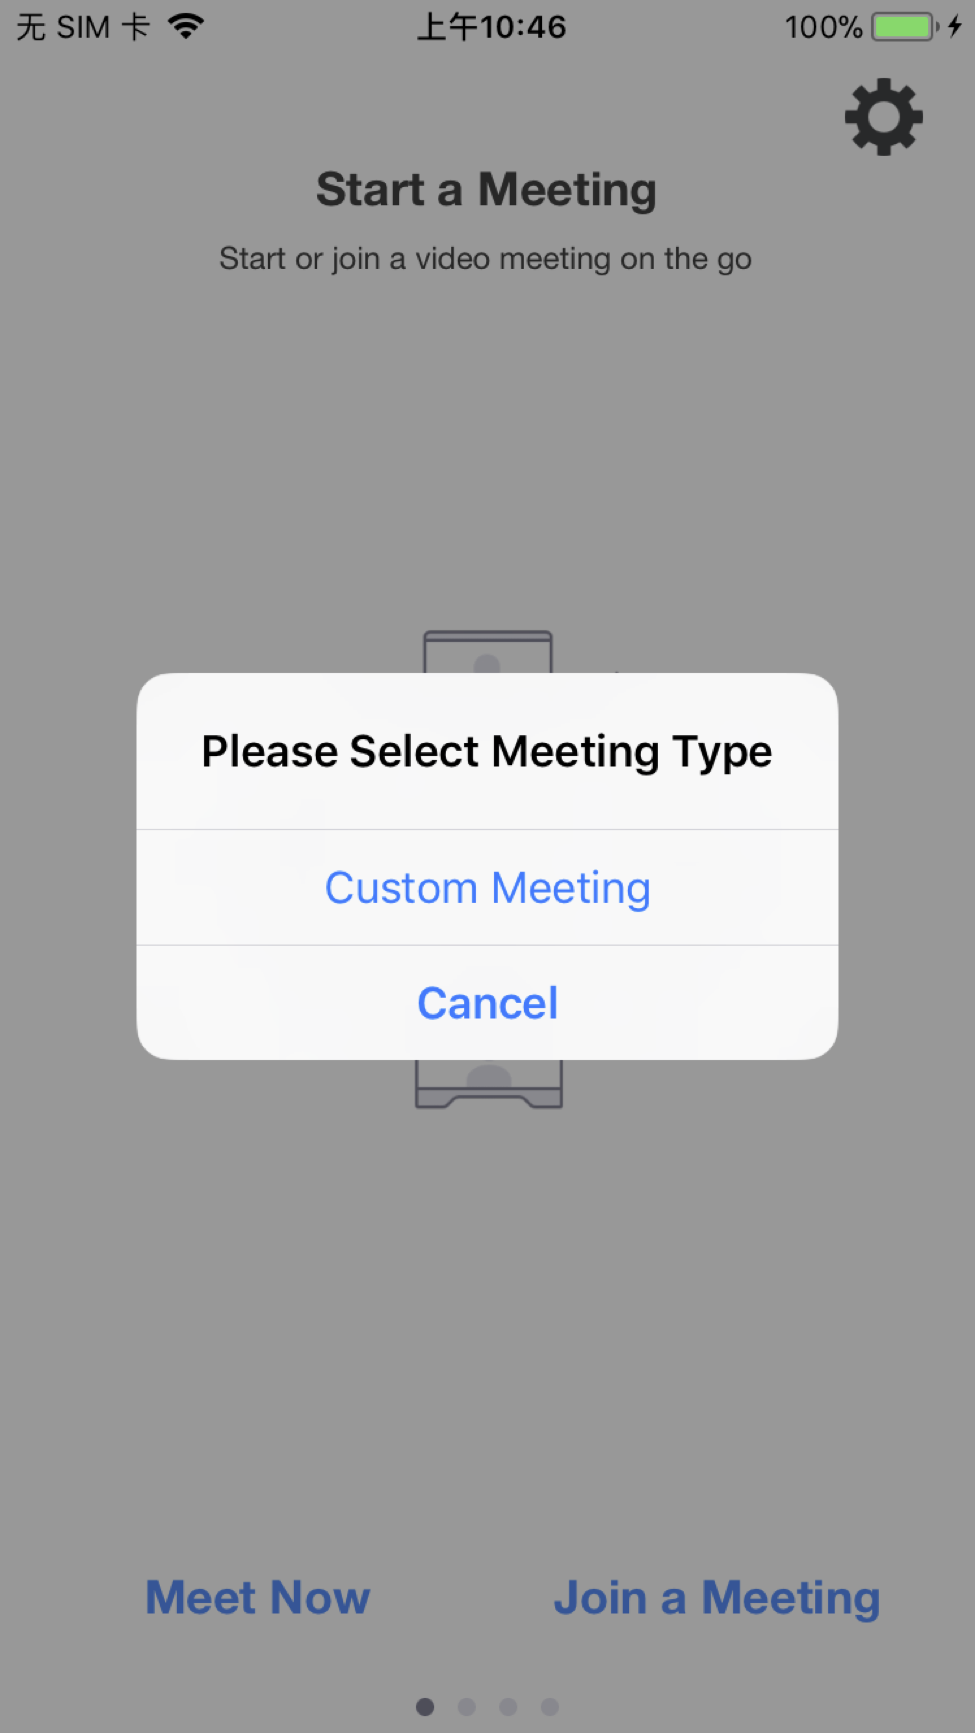
Once the custom meeting UI feature is enabled, then starting or joining a meeting is the same.
Create a custom meeting UI
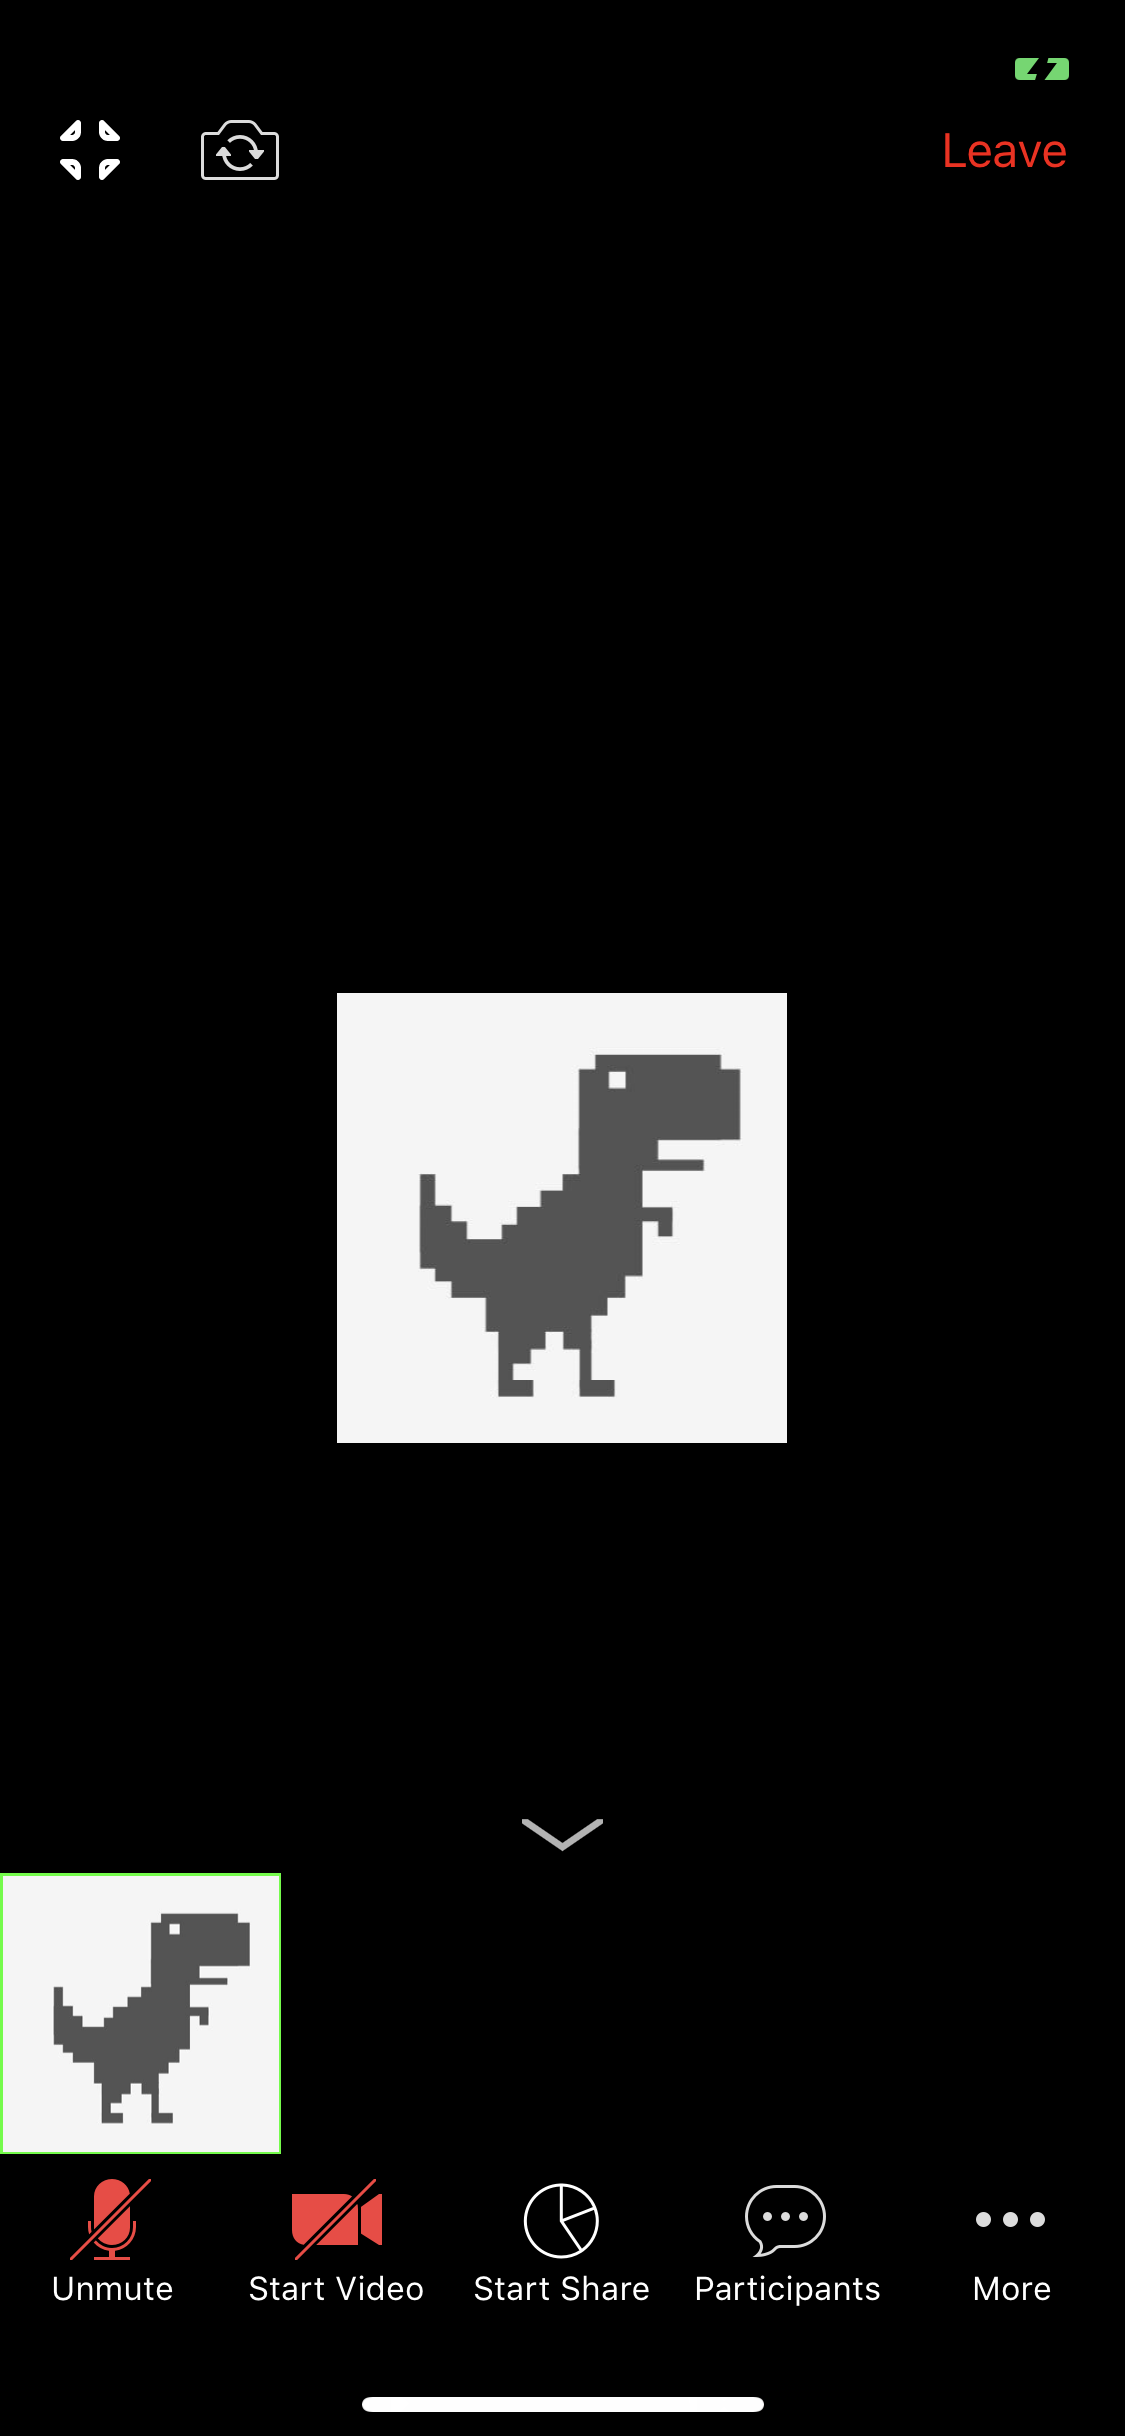
Assign customized UI meeting delegate
To implement a custom meeting UI, first assign MobileRTCCustomizedUIMeetingDelegate to your
View Controller. Then, implement the two callback methods onInitMeetingView and onDestroyMeetingView
for navigating to your customize meeting view based on initialization and destroy status.
Swift
Objective-C
extension ViewController: MobileRTCCustomizedUIMeetingDelegate {
    func onInitMeetingView() {
        // onInitMeetingView, push to your customize view.
    }

    func onDestroyMeetingView() {
        // onDestroyMeetingView, navigate to your previous view or push to another view.
    }
}

guard
    let service = MobileRTC.shared().getMeetingService(),
else {}

service.customizedUImeetingDelegate = self
In your .h file
@interface ViewController : UIViewController <MobileRTCCustomizedUIMeetingDelegate> {

}
In your .m file
MobileRTCMeetingService *meetingService = [[MobileRTC sharedRTC] getMeetingService];
if (!meetingService) {
    return;
}
meetingService.customizedUImeetingDelegate = self;

- (void)onInitMeetingView
{
    // onInitMeetingView, push to your customize view.
}

- (void)onDestroyMeetingView
{
    // onDestroyMeetingView, navigate to your previous view or push to another view.
}