Get started
This section shows you how to integrate Zoom Rivet into your project. To start, install the Zoom Rivet module and initialize the client. Then set up your local server and expose it for internet testing. After you complete these steps, you are now ready to authenticate your application, use Web APIs, and listen for events.
Install the module
To install Zoom Rivet through npm, open the terminal in your project directory and run:
npm install @zoom/rivet
Initialize the client
You can use the following generator to create quickly get started with the module and authorization type of your choice. Enter the required fields to generate a template for your Rivet application.
-
In a new entry point file called
index.js, paste the resulting template code:To use multiple Rivet modules in one app, see Multiple Rivet clients.
-
Save your
index.jsfile and run the following command:node index.jsThe console log confirms where the Zoom Rivet Events Server is running.
Expose local server to internet for testing
Now that your server is running on your local machine, use ngrok to allow Zoom to reach your server through webhook:
-
Use ngrok to generate a forwarding address.
ngrok http 8080 -
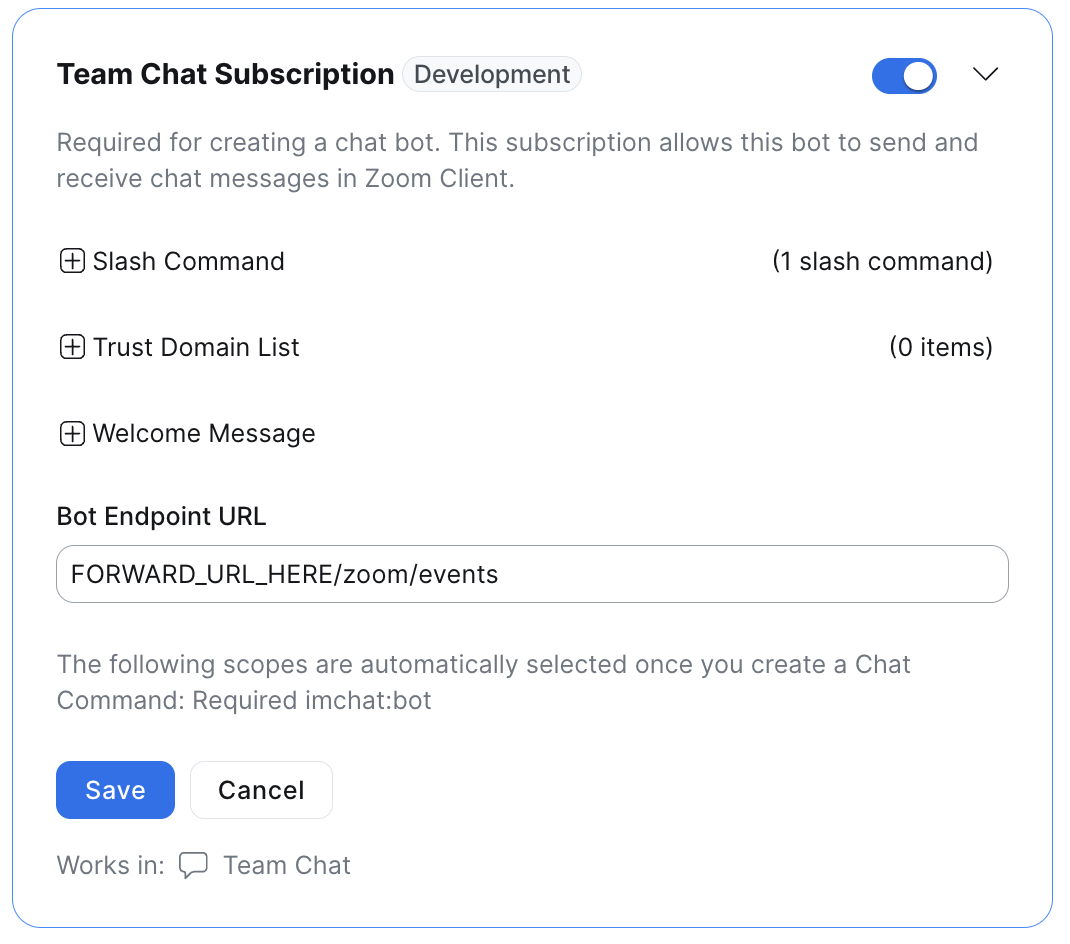
Add the forwarding address to the Bot Endpoint URL field in the Surface → Zoom Chat Subscription section of your chatbot's App Marketplace page.
-
Add the
/zoom/eventsthe endpoint.
By default, Zoom Rivet uses Port
8080. See Custom port to customize.