Get started
Follow the steps on this page to install and run the sample app. Be sure you have the necessary prerequisites before you start.
See Video SDK Plans & Pricing for Developer for pricing.
Sample app
To demonstrate the capabilities of the Video SDK, we have included a macOS sample app. The sample app is a video session application that allows hosts to start a session by topic. Users can join the session by typing the same topic name. Access the sample app in the /zoom-video-sdk-macos-#.#.#/Sample-Libs/ZoomVideoSDKSample directory.
To run the sample app, you must have:
- Xcode version 16.1 or later
- A physical Mac machine with macOS of 10.15 or later. For macOS 26 and Xcode 26 or later, you may need to remove the "-ld_classic" in other link flags from your project.
- Experience building macOS Apps
Authenticate
You will need a Native SDK Key and Secret to generate a JSON Web Token (JWT) that your application will pass into the Video SDK. See Video SDK Authentication for details.
For security reasons, these credentials should not be stored in the application itself. You should generate this where you can securely store your SDK credentials, such as through a backend (server-side) function.
Configure and build project
Download the SDK package and follow these steps to configure and build the sample app:
- Open up the SDK package and look out for the
ZoomVideoSDKSamplefolder under theSample-Libsfolder, and double-click theZoomVideoSDKSample.xcodeprojto launch the project in Xcode. - In Xcode, select the build settings depending on your macOS machine's processor (Apple or Intel), followed by your macOS machine.
- Click run (the play icon located at the top) to build and launch the sample application.
Use an App project template. For example, do not use a Command Line Tool template as the SDK will not work properly.
Create or join session with the sample app
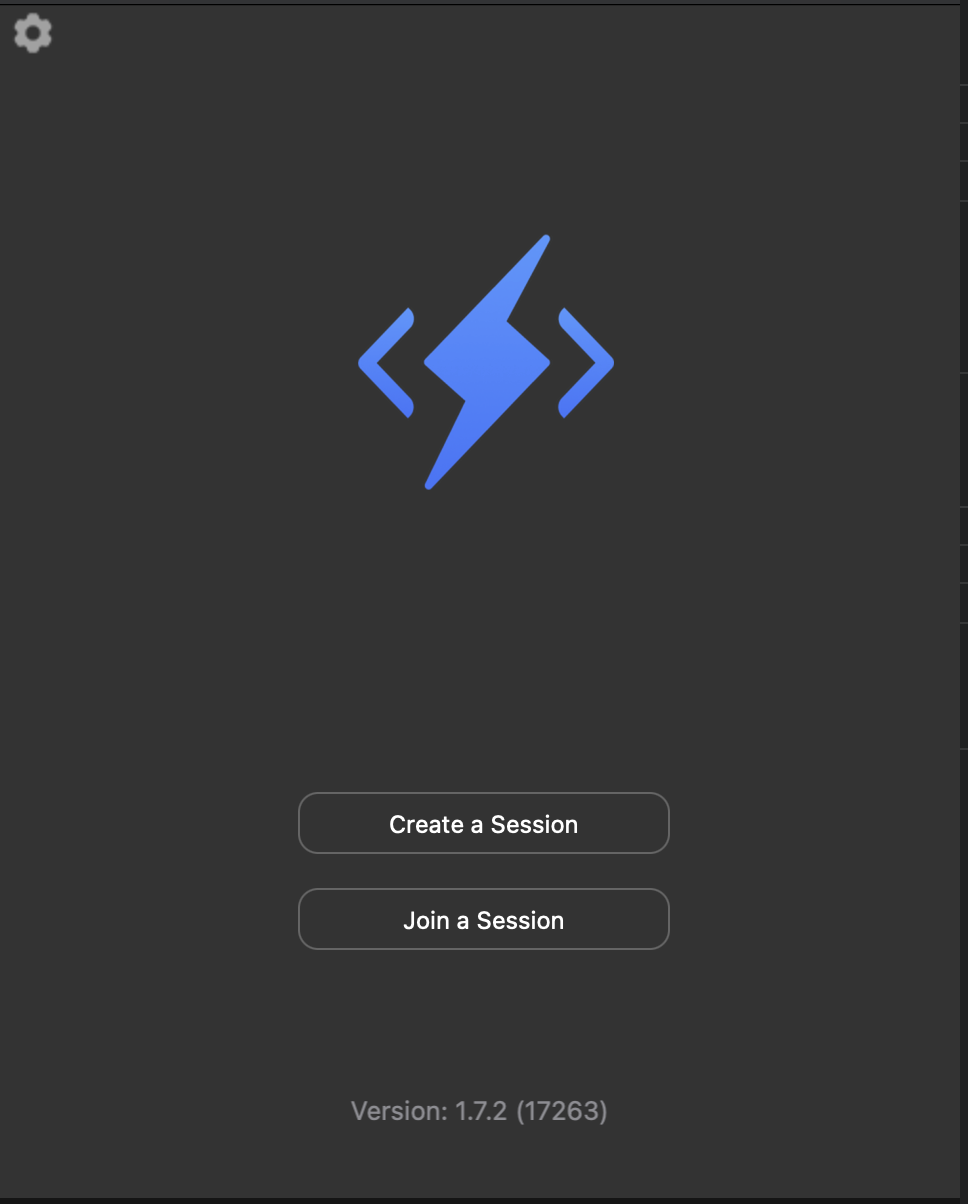
Once you've built the sample app, the first screen will prompt you to create or join a session.
-
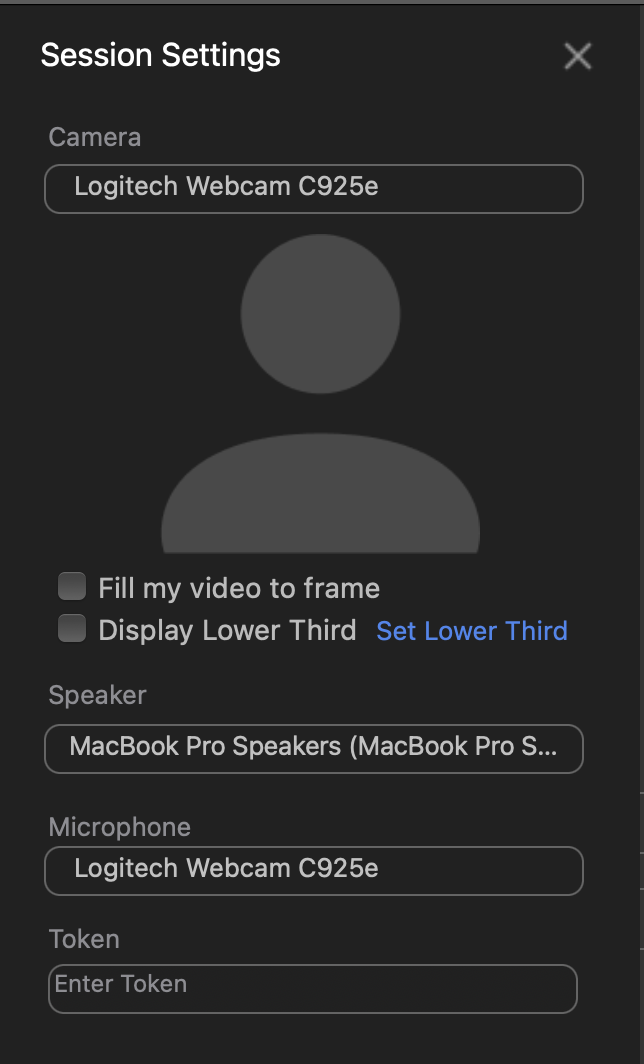
Click Join a session.
-
On the session settings screen, enter your SDK JWT in the Token field.
-
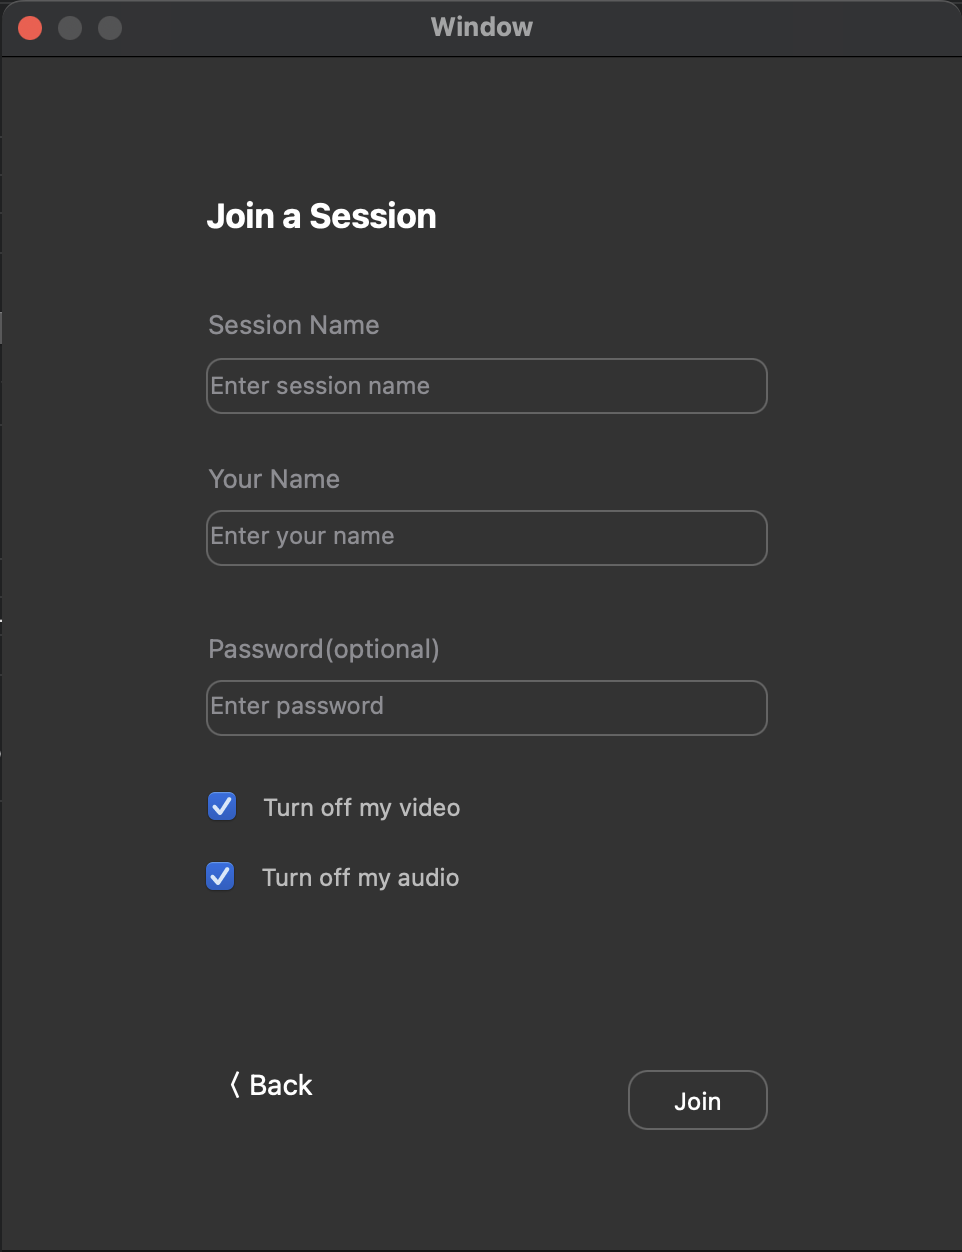
On the join a session screen, enter your session name, user name, and password (optional) and press Join.
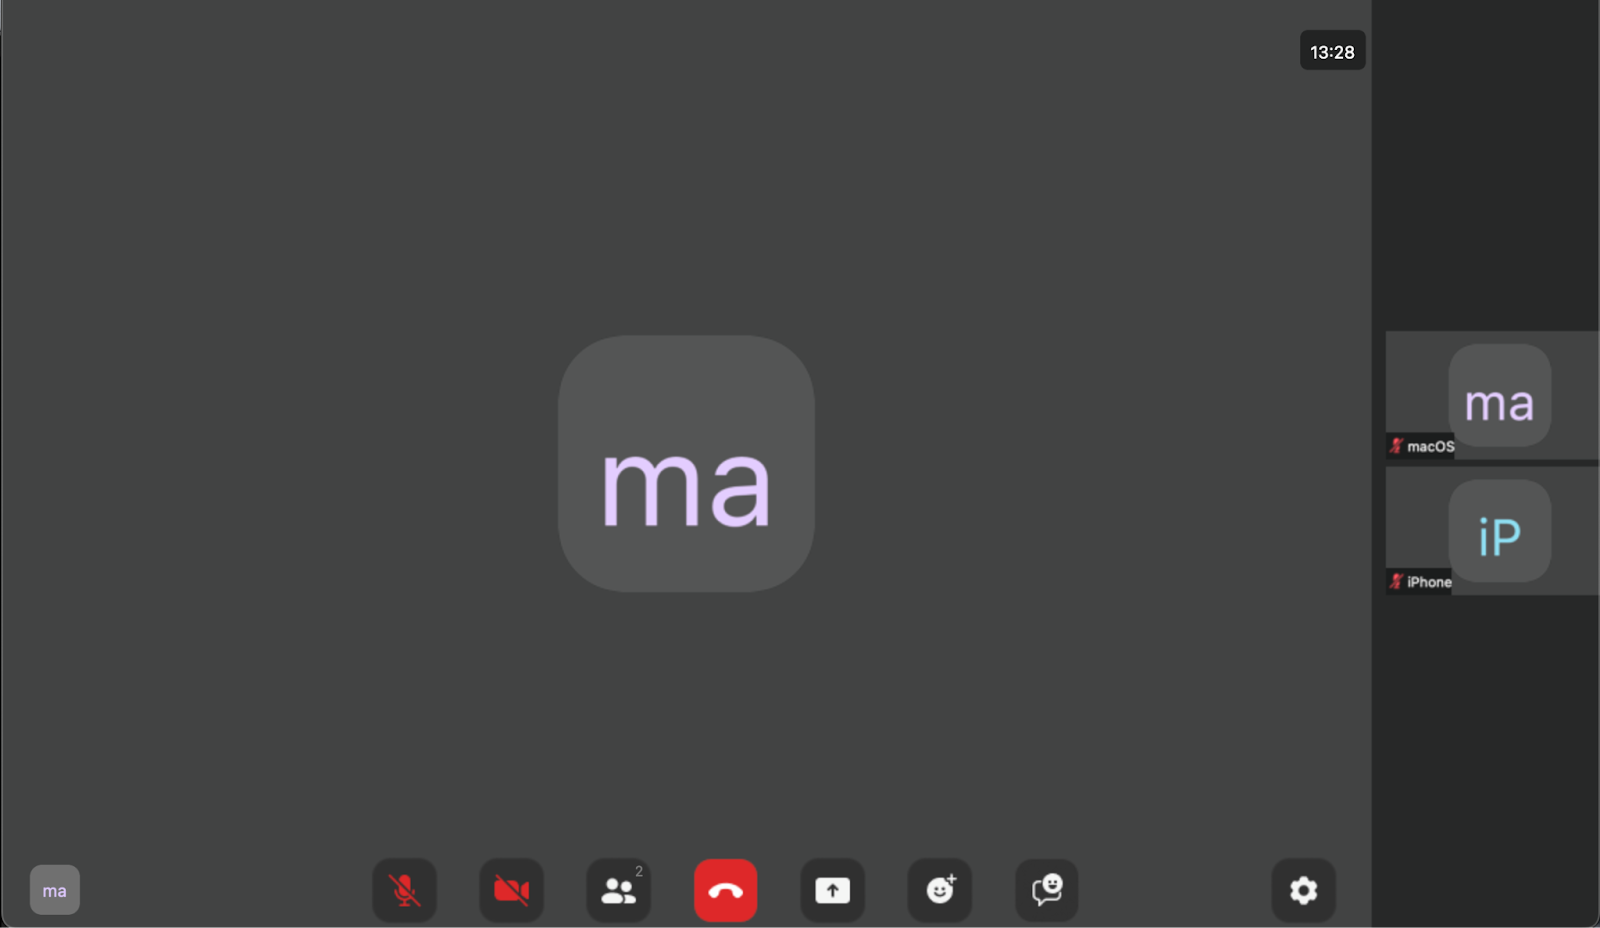
When you press the join button, the SDK will attempt to join the session. If it connects, it will present the session window, with options to turn on video and the mic, and other features.
Integrate and add features
To integrate the Video SDK into your app, As part of the integration, you must first initialize the SDK. After initialization, your app can use other Video SDK features, such as:
- Listening for callbacks.
- Creating, joining, and leaving sessions.
- Rendering a user's video.
- Managing audio.
- Sending and receiving chat messages.
See Integrate for next steps and the guides under Add features for details on the features you can integrate.