Build a video chat app with the Zoom Video SDK & SvelteKit
The Zoom Video SDK provides video, audio, screen sharing, chat, and more with an easy to use SDK. In this blog we'll showcase adding video chat to a SvelteKit web application.
If you're building a Svelte application without SvelteKit you can skip to Build the Videocall Component section, and use your own backend logic to generate JWTs. You can find the code for this blog on GitHub.
Prerequisites:
- Node LTS & NPM
- A Zoom Video SDK Account
Step 1: Scaffold the application
If you already have a SvelteKit project, you can skip this step.
Open a terminal and execute:
$ npm create svelte@latest <project-name>
$ cd <project-name>
You can use the package manager of your choice.
Step 2: Configuring the project
Install the dependencies
We will install the Zoom Video SDK and jsrsasign a library to generate JWTs. You can use the following command for installation:
$ npm install @zoom/videosdk jsrsasign
Enable shared array buffer support
To leverage the full power of the Zoom Video SDK including features like rendering multiple videos, virtual background, & background noise suppression, we need to enable support for Shared Array Buffers (SAB) in the browser.
Simply, download this file and place it in the public folder of your project as public/coi-serviceworker.js. Later we'll import this file to enable SAB support using a service worker. You can read more about SAB in our documentation.
Add environment variables
To complete the setup, create a .env file in the root of our project and add the Zoom Video SDK Key and Secret to it. You can find your SDK Key and Secret in the Video SDK Dashboard, by clicking on the Develop button and selecting Build Video SDK. Make sure you're logged in to your Video SDK account.
ZOOM_SDK_KEY="Your Zoom SDK Key"
ZOOM_SDK_SECRET="Your Zoom SDK Secret"
You can start the SvelteKit development server with npm run dev. The app will be available at http://localhost:5173/.
Step 3: Authenticate a session
The Zoom Video SDK uses JWTs to authenticate a session. We can create a new directory routes/call/[slug]/, this will create a dynamic route for example.com/call/<slug>. Users on the same link will be able to join the same session. Before we create the svelte component, let's define the load function in the routes/call/[slug]/+page.server.ts module.
The load function is called before the component is rendered, we can use this to generate the JWT. Creating a JWT requires the SDK Key and Secret. We're using a server only load function to keep our SDK key and secret secure.
import { ZOOM_SDK_KEY, ZOOM_SDK_SECRET } from '$env/static/private';
export const load = async ({ params }) => {
  const JWT = generateSignature(params.slug, 1);
  return { JWT }
};
function generateSignature(sessionName: string, role: number) {
  ...
}
We can access the ZOOM_SDK_KEY and ZOOM_SDK_SECRET using the $env/static/private import. The generateSignature function will use the jsrsasign library and the session name to generate the JWT:
import { KJUR } from 'jsrsasign';
...
function generateSignature(sessionName: string, role: number) {
  const sdkKey = ZOOM_SDK_KEY;
  const sdkSecret = ZOOM_SDK_SECRET;
  if (!sdkKey || !sdkSecret) {
    throw new Error("Missing ZOOM_SDK_KEY or ZOOM_SDK_SECRET");
  }
  const iat = Math.round(new Date().getTime() / 1000) - 30;
  const exp = iat + 60 * 60 * 2;
  const oHeader = { alg: "HS256", typ: "JWT" };
  const oPayload = {
    app_key: sdkKey, tpc: sessionName, role_type: role, version: 1, iat: iat, exp: exp,
  };
  const sHeader = JSON.stringify(oHeader);
  const sPayload = JSON.stringify(oPayload);
  const sdkJWT = KJUR.jws.JWS.sign("HS256", sHeader, sPayload, sdkSecret);
  return sdkJWT;
}
Step 4: Dynamic route for video chat
We'll create a new Svelte component as routes/call/[slug]/+page.svelte. We can access the JWT using the data prop and the slug from the $page store. We'll export these to expose them as a component prop.
<script lang="ts">
    import type { PageData } from "./$types";
    import { page } from "$app/stores";
    export let data: PageData;
    const JWT = data.JWT;
    export const slug = $page.url.pathname.split("/")[2];
</script>
We'll import the coi-serviceworker.js script to enable SAB support. We can add a Videocall component to the markup that will render the video chat UI. We'll pass it the JWT and slug props.
...
<script src="/coi-serviceworker.js"></script>
<h1>Session: {slug}</h1>
<Videocall {JWT} {slug} />
Step 5: Build the videocall component
Now for the fun part of building the video call component. We'll create a new file as routes/call/[slug]/Videocall.svelte that will render the video call UI.
Script
We'll import the Zoom Video SDK and define the props for the component, slug and JWT for authentication. We'll create a username for the user and we'll create a zoom video client with the ZoomVideo.createClient() method.
<script lang="ts">
  import { onMount } from 'svelte';
  import ZoomVideo, { type VideoPlayer, VideoQuality } from '@zoom/videosdk';
  export let JWT: string;
  export let slug: string;
  const username = `User-${String(new Date().getTime()).slice(6)}`;
  const client = ZoomVideo.createClient();
We'll create mutable variable for the video container in the DOM & our application state: inSession for rendering the UI based on the current session state and audioMuted & videoMuted for the mute state for camera/microphone. We'll use the onMount function to initialize the Video SDK client when the component is mounted.
  let videoContainer: HTMLElement;
  let inSession = false;
  let audioMuted = false;
  let videoMuted = false;
  onMount(async () => {
    await client.init('en-US', 'Global', { patchJsMedia: true });
  });
Start a video session
To start a video sessions, we'll define the startCall function. We'll setup an event listener for the peer-video-state-change event, which will be triggered when a new user joins or leaves the session. We'll pass the event payload to the renderVideo function to update the UI based on the new state, we'll define this function later.
We can use the join method to join a video session passing in the topic, token and username as arguments. We can start the audio and video by calling the startVideo and startAudio methods on the mediaStream object.
...
const startCall = async () => {
  client.on("peer-video-state-change", renderVideo);
  await client.join(topic, token, username);
  const mediaStream = client.getMediaStream();
  await mediaStream.startAudio();
  await mediaStream.startVideo();
We'll call the renderVideo function again after starting the video to update the UI for the local user. Finally, we'll update the application state by setting inSession variable to true and audioMuted & videoMuted variables to the current state of the camera/microphone.
...
  await renderVideo({ action: 'Start', userId: client.getCurrentUserInfo().userId });
  inSession = true;
  audioMuted = mediaStream.isAudioMuted();
  videoMuted = !mediaStream.isCapturingVideo();
};
Rendering videos
We model the renderVideo function to take the event data from the peer-video-state-change event. It'll update the videos in the DOM based on the action from the event. If the action is Stop, we'll remove the video element by calling the detachVideo method and then removing the element from the DOM using the remove method on the element. If the action is Start, we'll add the video to the DOM by first calling the attachVideo method and adding it to the DOM using the appendChild method on the videoContainerRef element.
...
const renderVideo = async (event: { action: "Start" | "Stop"; userId: number; }) => {
  const mediaStream = client.getMediaStream();
  if (event.action === 'Stop') {
    const element = await mediaStream.detachVideo(event.userId);
    Array.isArray(element) ? element.forEach((el) => el.remove()) : element.remove();
  } else {
    const userVideo = await mediaStream.attachVideo(event.userId, VideoQuality.Video_360P);
    videoContainer.value?.appendChild(userVideo);
  }
};
Leaving the session
Finally, we'll create a function leaveSession to leave the call. We'll remove all the videos from the DOM by calling the detachVideo method on the mediaStream object for each user in the session and then remove the element from the DOM using the remove method on the element. We'll remove the event listener and call the leave method to leave the session, we can then update the application state by setting the inSession variable to false.
...
const leaveCall = async () => {
  const mediaStream = client.getMediaStream();
  for (const user of client.getAllUser()) {
    const element = await mediaStream.detachVideo(user.userId);
    Array.isArray(element) ? element.forEach((el) => el.remove()) : element.remove();
  }
  client.off("peer-video-state-change", renderVideo);
  await client.leave();
  inSession = false;
}
Mute/Unmute buttons
We'll define toggleVideo and toggleAudio functions to mute/unmute the camera/microphone.
We can access the mediaStream object and call the startVideo and stopVideo methods to start/stop the video. We'll update the UI by calling the renderVideo function with the action set to Start or Stop based on the current state of the camera/microphone with the current user's userId. We'll also update the videoMuted ref with the current state of the camera/microphone.
...
const toggleVideo = async () => {
  const mediaStream = client.getMediaStream();
  if (mediaStream.isCapturingVideo()) {
    await mediaStream.stopVideo();
    await renderVideo({ action: 'Stop', userId: client.getCurrentUserInfo().userId });
  } else {
    await mediaStream.startVideo();
    await renderVideo({ action: 'Start', userId: client.getCurrentUserInfo().userId });
  }
  videoMuted = !mediaStream.isCapturingVideo();
};
For the toggleAudio function, we can call the unmuteAudio and muteAudio methods on the mediaStream object to mute/unmute the microphone and update the audioMuted ref with the current state of the microphone.
...
const toggleAudio = async () => {
  const mediaStream = client.getMediaStream();
  if (client.getCurrentUserInfo().muted) {
    await mediaStream.unmuteAudio();
  } else {
    await mediaStream.muteAudio();
  }
  audioMuted = mediaStream.isAudioMuted();
};
</script>
Template for the videocall
We're omitting the styling to make the code more readable, you can check out the styling on GitHub.
We render the video container with the video-player-container tag, we'll use bind:this to create a binding of the DOM node to the videoContainer. We wrap it in a div with a conditional style to only display it when the video session is active.
...
  <div style={!inSession ? display: none;' : 'display: flex;'}>
    <video-player-container bind:this={videoContainer}></video-player-container>
We'll render the start call button with the startCall function only when the video session is not active using the #if expression and the inSession state. When the session is active, we'll render buttons to mute/unmute the camera/microphone and leave the call. We'll use the videoMuted and audioMuted refs to render the button text based on the current state of the camera/microphone.
...
  {#if !inSession}
  {:else}
      <div>
    </div>
  {/if}
</div>
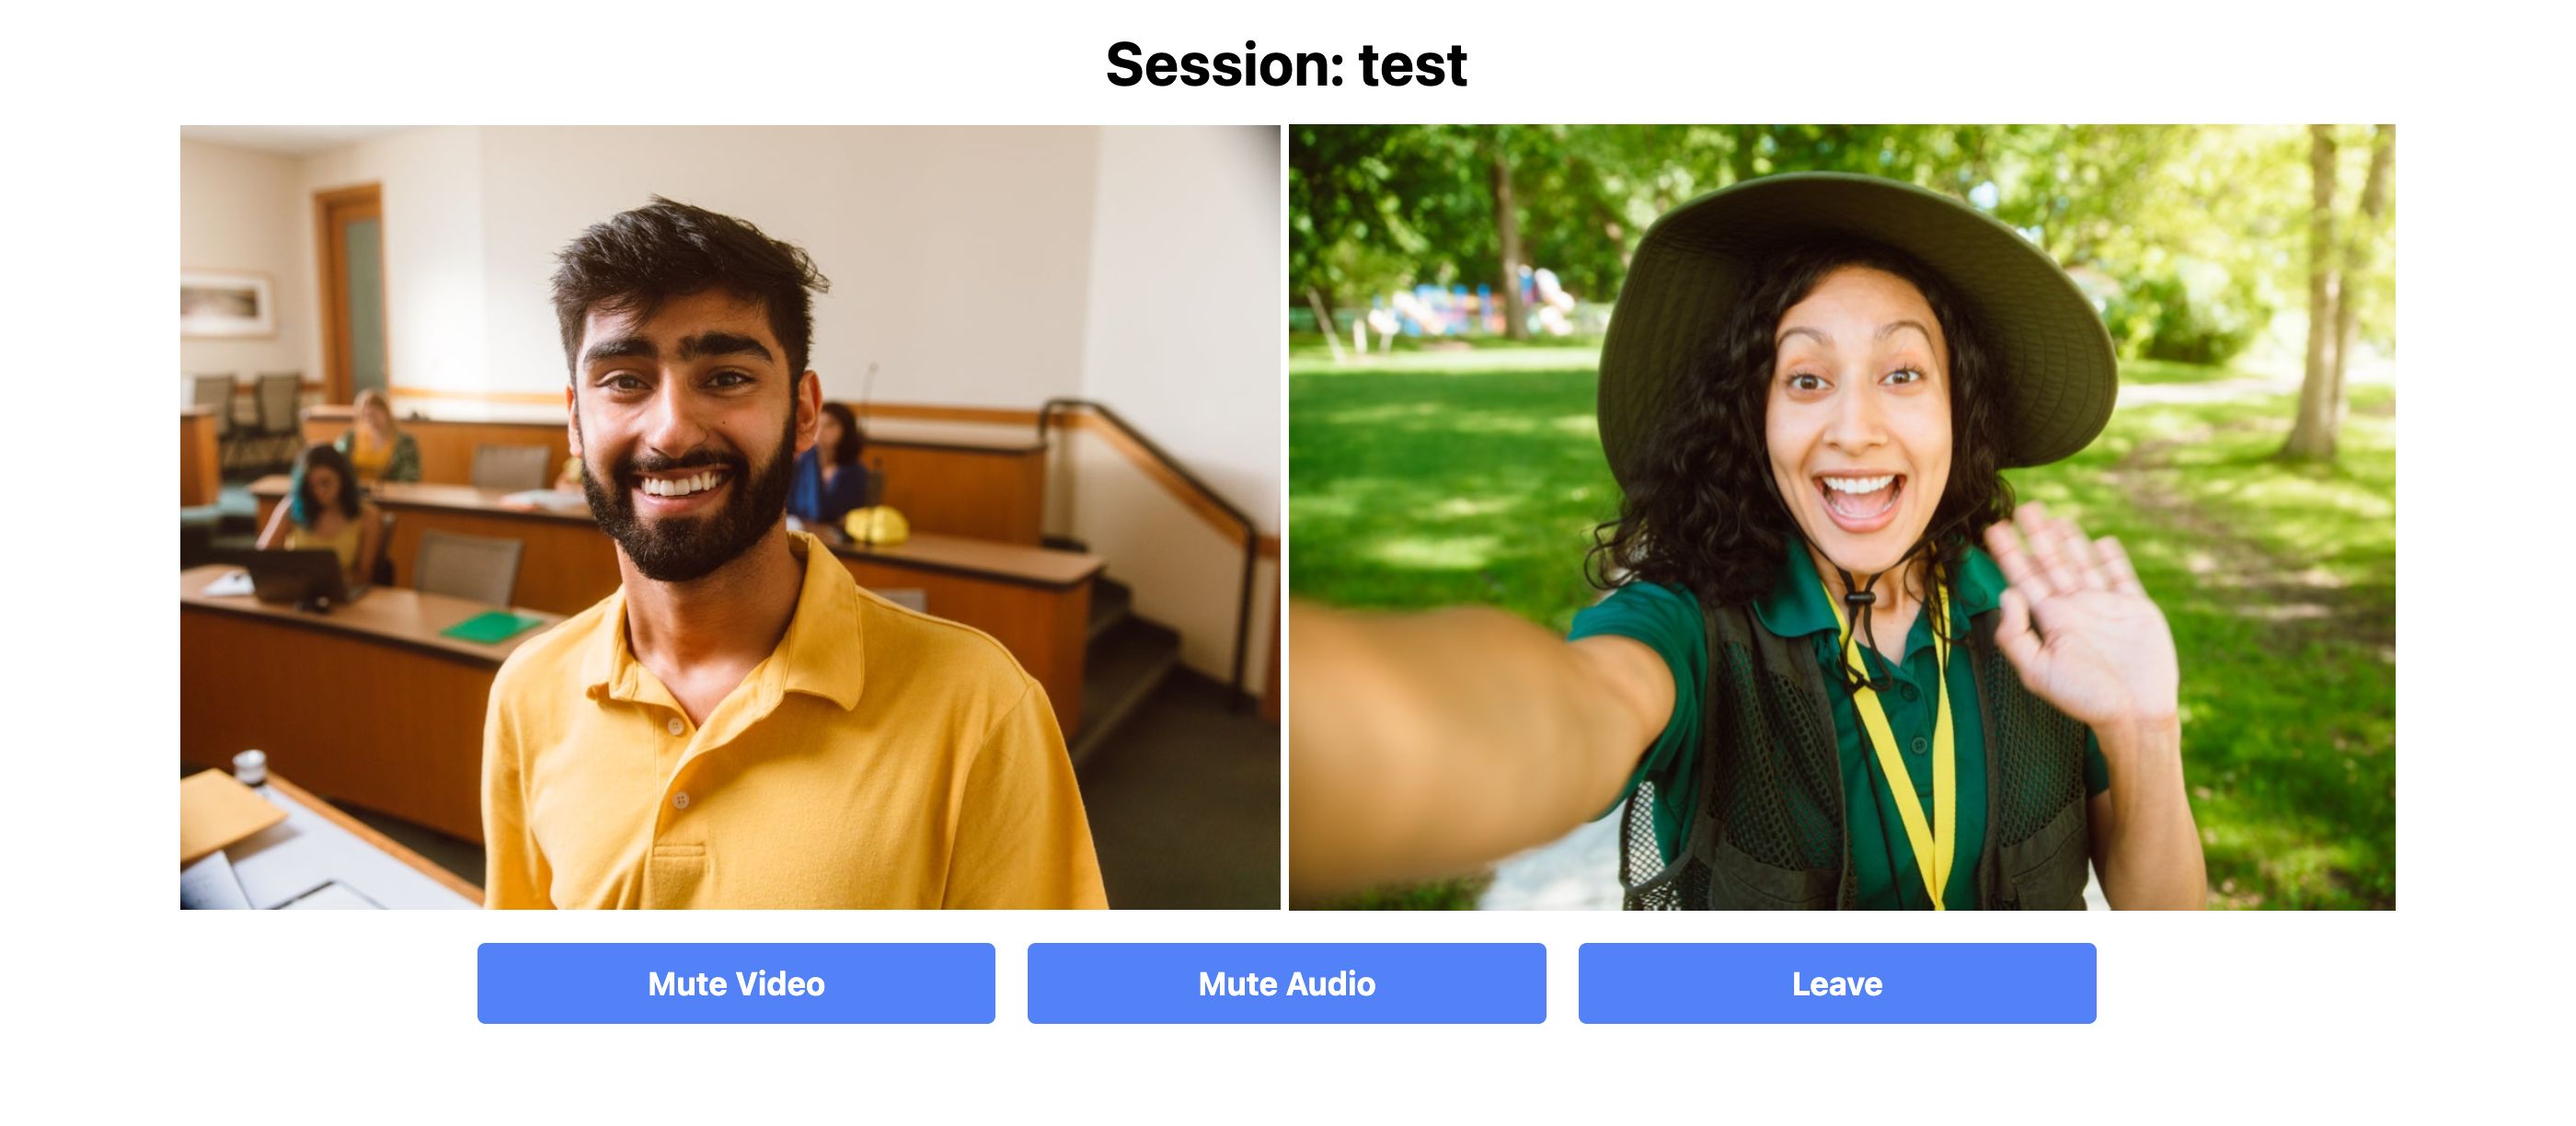
That's all the code we need to build a video conferencing app using the Zoom Video SDK & SvelteKit. You can launch the app by running npm run dev. You can navigate to http://localhost:5173/call/test to create/join the video session.
Conclusion
We hope this quick guide has given you a good starting point to build your own video conferencing app using the Zoom Video SDK & Svelte. We've covered the basics of setting up the project, configuring the app, and building the video chat features, you can visit our documentation for adding more features like screen sharing, chat, and recording.
You can also read our blogs for the same project built with React/Next.js and Vue/Nuxt. We'll be posting more guides for creating video chat apps with the Zoom Video SDK for different web technologies in the future. Stay tuned for more updates on our blog!
For further community discussion and insight from Zoom Developer Advocates and other developers, please check out the Zoom Developer Forum. For prioritized assistance and troubleshooting, take advantage of Premier Developer Support and submit a ticket.