# Build secure collaborative browsing with the Zoom Cobrowse SDK
We recently launched the Zoom Cobrowse SDK, it provides you with all the tools to easily integrate a collaborative browsing experience into your customer engagement flow. The SDK also comes with a set of useful features like annotation tools and masking feature which can be configured to prevent end user's sensitive information from being seen by agents. In this blog, we'll showcase how to get started with the SDK.
The Cobrowse SDK has two entry points, one for the customer and one for the agent:
**Customer**: Any user who is navigating your company website and can allow agents to view the same website with them at the same time during the cobrowse session.
**Agent**: Your company’s staff who support your end users in performing various tasks such as completing a purchase or helping users fill out out a form.
 ## Prerequisites:
- Node LTS & NPM
- A Zoom SDK Universal Credit account
## Step 1: Get SDK Credentials
Login to the [Zoom Marketplace](https://marketplace.zoom.us/) and make sure you have subscribed to the Zoom SDK Universal Credit plan. Obtain your SDK Key & Secret by clicking on the Develop button on the top right and selecting the Build SDK option. Make sure you grab the SDK credentials and **not the API credentials**.
You can find more information in our [docs](/docs/cobrowse-sdk).
## Step 2: Scaffold a Customer Form
We've create a sample app with two pages, one for the customer and one for the agent. We'll start by cloning the repo at the [`scaffold`](https://github.com/zoom/CobrowseSDK-Quickstart/tree/scaffold) branch and installing the dependencies:
```bash
git clone https://github.com/zoom/CobrowseSDK-Quickstart --branch scaffold
cd cobrowsesdk-quickstart
npm install
```
It's a barebones [Vite](https://vitejs.dev/) app with two pages, one for a customer form and one for the agent portal. We'll walk through adding the ability for the customer to cobrowse a simple form with a support agent. You can find the completed demo on the [main](https://github.com/zoom/CobrowseSDK-Quickstart/tree/main) branch.
## Step 3: Deploy a Server for Token Generation
To authorize a cobrowse session, both the customer and the agent need to have a JSON Web Token (JWT). We've created a simple token generator that you can use for this demo. You can host it on a platform like Railway/Render by clicking the respective buttons in the repo, you'll be asked for your SDK Key and Secret.
You can also run it locally by cloning the repo, adding your SDK Key and Secret to `.env` file & running the following commands:
```bash
git clone https://github.com/zoom/cobrowsesdk-auth-endpoint-sample
cd cobrowsesdk-auth-endpoint-sample
npm install
npm run start
```
Copy the server URL and keep it handy. We'll use it in the next step.
## Step 4: Fetch Tokens and Create Entry Points
Now that we have the server URL, we can generate a token for the customer and the agent. Navigate back to the `cobrowsesdk-quickstart` repo we cloned earlier and paste the server URL & SDK Key into the `.env` file.
```bash
VITE_ZOOM_SDK_KEY=YOUR_SDK_KEY_HERE # xxxx-yyyy_zzzz
VITE_TOKEN_URL=YOUR_TOKEN_URL_HERE # http://localhost:4000/
```
In our `index.html`, we have buttons for agent and customer. When either is clicked, we'll generate the token with that role and redirect the user to the respective page. Note: Customer has the role set to `1` and agent has the role set to `2`.
We'll create a `token.js` file in the `src` folder. We can access the SDK Key and Server URL from the environment variables we set in the `.env` file.
```js
const sdkKey = import.meta.env.VITE_ZOOM_SDK_KEY;
const serverUrl = import.meta.env.VITE_TOKEN_URL;
```
We'll define a function `fetchToken` that will make a POST request to the token URL with the SDK Key and the role of the user.
```js
...
async function fetchToken(role) {
const token = (
await (
await fetch(serverUrl, {
method: "POST",
headers: { "Content-Type": "application/json" },
body: JSON.stringify({ role: role }),
})
)
.json()
.catch((e) => {
console.error(e);
alert("Please provide a valid token url");
})
).token;
return token;
}
```
Next, we'll add event listeners to the buttons that will call the `fetchToken` function with the correct role & open the respective pages adding the token as a query parameter.
```js
...
const customerButton = document.getElementById("cb-btn");
const agentButton = document.getElementById("iframe-btn");
customerButton.addEventListener("click", async () => {
const token = await fetchToken(1);
window.open(`customer.html?token=${token}`, "_blank");
});
agentButton.addEventListener("click", async () => {
const token = await fetchToken(2);
window.open(`agent.html?token=${token}`, "_blank");
});
```
Finally, we can add this script to the `index.html` file with a script tag (before closing the `body` tag):
```diff
...
+
## Prerequisites:
- Node LTS & NPM
- A Zoom SDK Universal Credit account
## Step 1: Get SDK Credentials
Login to the [Zoom Marketplace](https://marketplace.zoom.us/) and make sure you have subscribed to the Zoom SDK Universal Credit plan. Obtain your SDK Key & Secret by clicking on the Develop button on the top right and selecting the Build SDK option. Make sure you grab the SDK credentials and **not the API credentials**.
You can find more information in our [docs](/docs/cobrowse-sdk).
## Step 2: Scaffold a Customer Form
We've create a sample app with two pages, one for the customer and one for the agent. We'll start by cloning the repo at the [`scaffold`](https://github.com/zoom/CobrowseSDK-Quickstart/tree/scaffold) branch and installing the dependencies:
```bash
git clone https://github.com/zoom/CobrowseSDK-Quickstart --branch scaffold
cd cobrowsesdk-quickstart
npm install
```
It's a barebones [Vite](https://vitejs.dev/) app with two pages, one for a customer form and one for the agent portal. We'll walk through adding the ability for the customer to cobrowse a simple form with a support agent. You can find the completed demo on the [main](https://github.com/zoom/CobrowseSDK-Quickstart/tree/main) branch.
## Step 3: Deploy a Server for Token Generation
To authorize a cobrowse session, both the customer and the agent need to have a JSON Web Token (JWT). We've created a simple token generator that you can use for this demo. You can host it on a platform like Railway/Render by clicking the respective buttons in the repo, you'll be asked for your SDK Key and Secret.
You can also run it locally by cloning the repo, adding your SDK Key and Secret to `.env` file & running the following commands:
```bash
git clone https://github.com/zoom/cobrowsesdk-auth-endpoint-sample
cd cobrowsesdk-auth-endpoint-sample
npm install
npm run start
```
Copy the server URL and keep it handy. We'll use it in the next step.
## Step 4: Fetch Tokens and Create Entry Points
Now that we have the server URL, we can generate a token for the customer and the agent. Navigate back to the `cobrowsesdk-quickstart` repo we cloned earlier and paste the server URL & SDK Key into the `.env` file.
```bash
VITE_ZOOM_SDK_KEY=YOUR_SDK_KEY_HERE # xxxx-yyyy_zzzz
VITE_TOKEN_URL=YOUR_TOKEN_URL_HERE # http://localhost:4000/
```
In our `index.html`, we have buttons for agent and customer. When either is clicked, we'll generate the token with that role and redirect the user to the respective page. Note: Customer has the role set to `1` and agent has the role set to `2`.
We'll create a `token.js` file in the `src` folder. We can access the SDK Key and Server URL from the environment variables we set in the `.env` file.
```js
const sdkKey = import.meta.env.VITE_ZOOM_SDK_KEY;
const serverUrl = import.meta.env.VITE_TOKEN_URL;
```
We'll define a function `fetchToken` that will make a POST request to the token URL with the SDK Key and the role of the user.
```js
...
async function fetchToken(role) {
const token = (
await (
await fetch(serverUrl, {
method: "POST",
headers: { "Content-Type": "application/json" },
body: JSON.stringify({ role: role }),
})
)
.json()
.catch((e) => {
console.error(e);
alert("Please provide a valid token url");
})
).token;
return token;
}
```
Next, we'll add event listeners to the buttons that will call the `fetchToken` function with the correct role & open the respective pages adding the token as a query parameter.
```js
...
const customerButton = document.getElementById("cb-btn");
const agentButton = document.getElementById("iframe-btn");
customerButton.addEventListener("click", async () => {
const token = await fetchToken(1);
window.open(`customer.html?token=${token}`, "_blank");
});
agentButton.addEventListener("click", async () => {
const token = await fetchToken(2);
window.open(`agent.html?token=${token}`, "_blank");
});
```
Finally, we can add this script to the `index.html` file with a script tag (before closing the `body` tag):
```diff
...
+
{
console.log("pincode_updated", payload);
});
sessionRef = session;
btn.disabled = false;
btn.innerText = "Cobrowse";
} else {
console.log(error);
}
});
```
We'll define a `startSession` function that will start the cobrowse session by calling the `start` method on the `sessionRef` and passing in the `token`. We'll add a click event listener to the "cobrowse" button to call this function:
```js
...
const startSession = () => {
if (!sessionRef) {
alert("Please wait...");
return;
}
btn.disabled = true;
sessionRef.start({ sdkToken: token });
};
btn.addEventListener("click", startSession);
```
## Step 6: Setup the Agent Portal
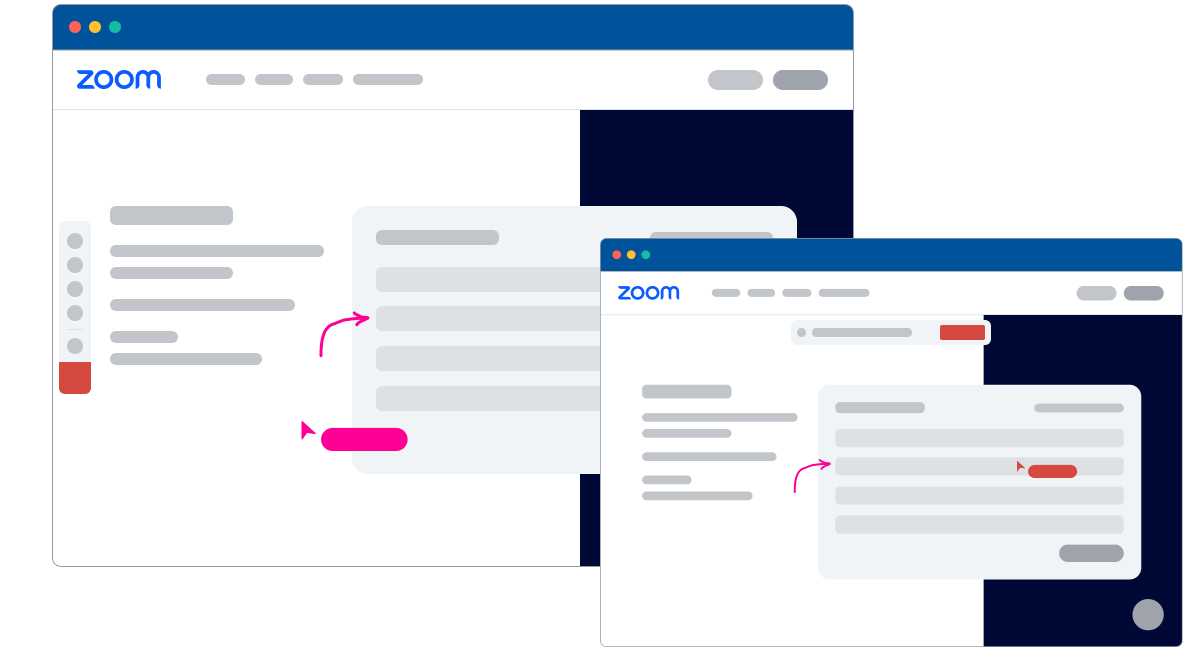
The Zoom Cobrowse SDK support being embed on any page using an `iframe`.
We can add an `iframe` to the `agent.html` file. We'll access the token from the query parameter and set the `src` attribute of the `iframe` to the agent portal URL.
```html
```
## Step 5: Add Cobrowse to the Customer Form
Zoom Cobrowse SDK can be added to a website by using the code snippet in our documentation. This snippet requires the SDK Key and will load the SDK. We'll create another script as `src/customer.js` and add it to the `customer.html` file. Make sure the SDK snippet is loaded before your script by adding it before your script tag. We'll add this before closing the `head` decleration:
```diff
...